Car Commuting
Cerakote vs 3M vs Sylvania: which headlight restoration kit actually lasts
Every kit produces the same photo on day one. The difference between a fix that lasts a season and one that lasts years shows up around month three, in the coating nobody reads about.
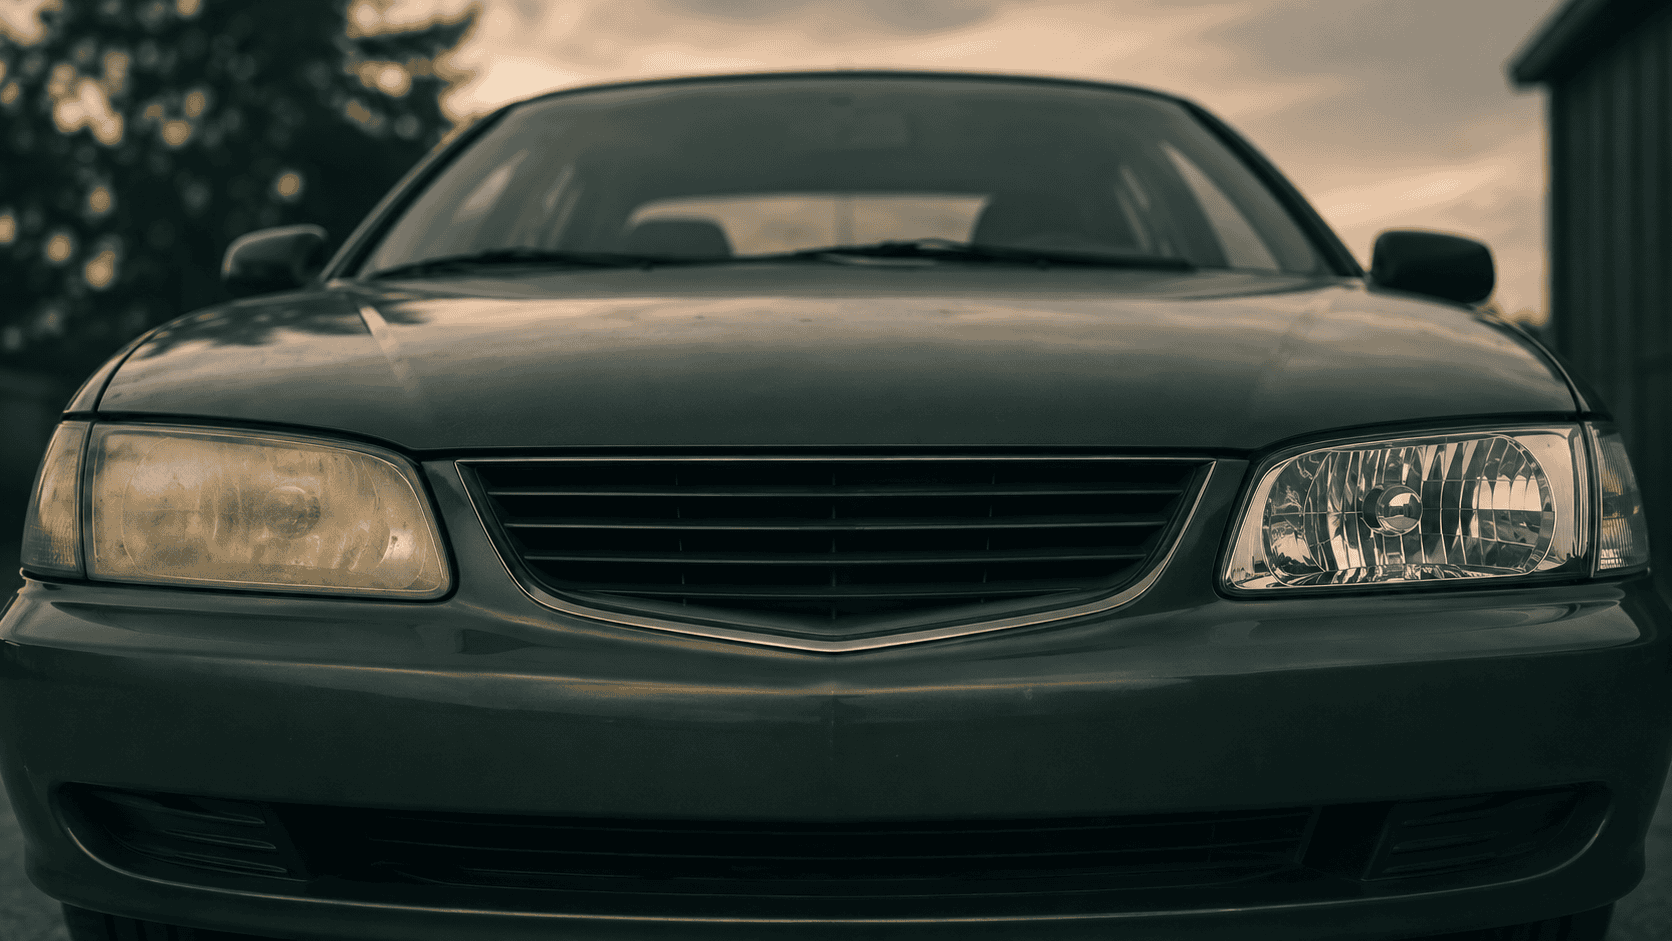
We already wrote about the problem: headlights that dimmed so slowly we never saw it happen, lenses that quietly cost us most of our light on the night drive home.
This is the article about the fix. Three kits dominate the search results, the parking lot conversations, and the review counts: Cerakote, 3M, and Sylvania. They cost about the same. They all show dramatic before-and-after photos. And they work in three different ways that nobody explains on the box.
So we compared them on the thing that actually separates them. Not the shine on day one. The shine in month three.
The first-day trap
Every headlight kit looks like a winner on the afternoon we use it.
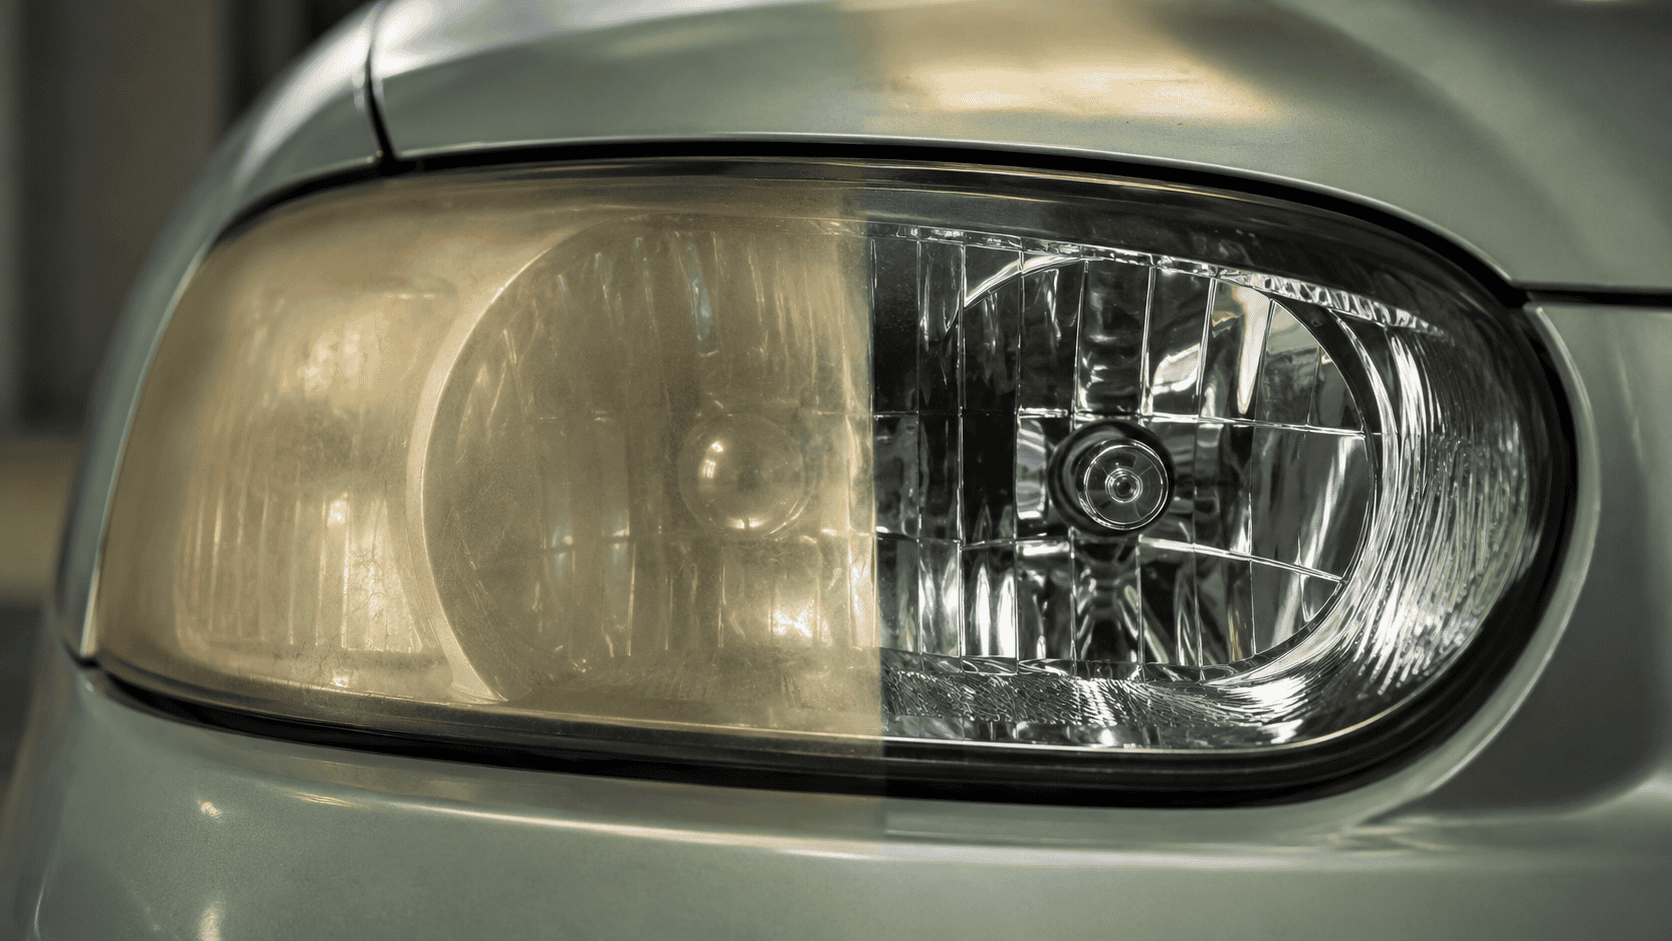
That is not marketing. It is chemistry. Oxidation lives in the top layer of the polycarbonate lens. Remove that layer, by sanding it off or dissolving it, and the clear plastic underneath is right there waiting. Any competent kit produces a dramatic improvement in under an hour, which is why every product page shows the same photo and every review section starts with the same delighted week-one reports.
The photos are real. They are also the wrong evidence.
Bare polycarbonate has no defense against sunlight. The moment the polishing stops, UV exposure starts again, and the only thing standing between the fresh clear lens and a repeat of the whole slow fade is whatever protective layer the kit applied at the end. This is the step that separates the three kits, and it is the step the before-and-after photo cannot show.
The seal, not the sand
Here is the mechanism, in one paragraph. Headlights leave the factory with a UV-resistant hardcoat. Sunlight breaks it down over three to five years, the underlying plastic oxidizes, and AAA’s testing found the result produces about 22 percent of the light a new headlight does. Restoration reverses it in two moves: strip the dead layer, then replace the protection the factory coat used to provide. AAA found a DIY kit recovers roughly 70 percent of the lost light.
Step one is a commodity. Sandpaper is sandpaper, whether a drill spins it or a hand rubs it. Step two is the actual product. And the three kits answer it with three different philosophies.
The comparison in one view
Three kits, three philosophies
Three kits, three philosophies
Cerakote: the ceramic bet
The Cerakote ceramic headlight restoration kit is the one commuters have most likely seen, because it has become the default recommendation across owner forums and review counts. The process is deliberately minimal: prep the lens with the included sanding pads, then apply the ceramic coating with pre-soaked wipes. No drill, no masking, no compound. The company guarantees the coating for as long as the buyer owns the vehicle.
The owner consensus tells a more specific story. On lightly and moderately hazed lenses, the results hold up well enough that the kit has earned its reputation. The complaints cluster almost entirely at the other end: heavily yellowed, decade-old lenses where reports of streaking and returning fog concentrate. That pattern makes sense. A ceramic coat can only protect the surface underneath it, and minimal prep leaves deep oxidation in place.
For us if: the haze is early-stage and we want the longest seal for the least effort. Not for us if: the lenses are deeply yellowed. The gentle prep is the weakness there, not the coating.
3M Ultra: the deep cut
The 3M Ultra headlight restoration kit comes from the company that makes the abrasives everyone else buys, and it shows. Three grades of disc, 500 to 800 to 3000 grit, driven by a household drill. Masking tape in the box. This is the kit that treats restoration as bodywork, and on badly yellowed lenses it removes more damage than anything else here. Owners restoring neglected lenses report the most dramatic corrections of the three.
The trade sits at the end of the process. The protective step is a wipe-on clear coat, the lightest seal in this comparison, and the most consistent owner complaint is a white haze left behind when the sanding sequence gets rushed. Technique matters more with this kit than the others. So does owning a drill. There is also a classic version, the 3M 39008 system, which ends at rubbing compound with no protective coat at all: maximum correction, fastest fade.
For us if: the lenses are far gone and we want the deepest possible correction. Not for us if: there is no drill in the garage, or no patience for a careful 45 minutes.
Sylvania: the whole system
The Sylvania headlight restoration kit is the one that treats the coating as the point. The box works in three stages: a surface activator that softens the oxidized layer, hand sanding and clarifying compound to correct it, and then the part Sylvania actually engineered, a UV-block clear coat that cures in place on the lens. It is the closest any kit comes to re-applying what the factory put there.
It asks for the most elbow grease of the three, and owners say so. They also confirm the result: real clarity that holds through the twelve-to-twenty-four month window we described in the original headlights article, then begins fading again, because every coating eventually does. Nothing about that is a flaw. It is the honest cycle of a lens that lives outside.
For us if: we want the most predictable seal without power tools and do not mind working for it. Not for us if: the whole job needs to fit in ten minutes.
A few more options, matched to the moment
The three kits above handle most lenses. A few more products cover the edges, from a ten-minute rescue to a spray that only protects.
The verdict, by lens condition
Brand loyalty is the wrong lens for this decision. Lens condition is the right one.
Light haze, caught early. The Cerakote kit. Minimal correction is exactly enough, and the ceramic seal buys the longest quiet stretch before the job needs thinking about again.
Heavy yellowing, drill available. The 3M Ultra kit, and a slow careful pass through all three grits. Plan on re-coating sooner, or adding a maintenance spray to the routine.
Heavy yellowing, no drill. The Sylvania kit. The activator plus hand sanding reaches deep oxidation, and the cured UV coat is the best finishing layer in the comparison.
Ten minutes before the drive. The Turtle Wax Speed wipe kit. It will not match a sand-and-seal, and its own reviews say the fog creeps back, but it clears enough haze to matter tonight.
No sanding, under an hour. Meguiar’s Two Step: a chemical restore plus coating, the gentlest full process here, best on mild-to-moderate haze.
Lenses already clear. Skip restoration entirely and protect what is there. Meguiar’s Keep Clear coating is a UV spray that extends any kit’s result, and the simplest insurance in this article.
Keeping them clear
The stakes are not cosmetic. The Insurance Institute for Highway Safety found that vehicles with good-rated headlights have 19 percent fewer nighttime crashes, 29 percent fewer driver-injury crashes, and 23 percent fewer pedestrian crashes than vehicles with poor-rated ones. Whatever kit restores the light, keeping the light is the actual assignment.
Keeping it is mostly rhythm. Check the lenses every autumn, before the early sunsets arrive and the commute home goes dark. Re-coat before the seal fails rather than after, because a maintenance spray takes minutes and a full restoration takes an afternoon. Park nose-out of the afternoon sun where the option exists. None of this is difficult. All of it is the kind of small, boring upkeep that seeing clearly at dusk has always depended on.
The plastic was never really the point.
The kits are interchangeable enough that any of them beats doing nothing. What is not interchangeable is the month-three question: did the coating hold. Choose for that question, and the before-and-after photo takes care of itself.
Carry smarter. Commute better.
Common questions about headlight restoration kits
Does the Cerakote headlight kit really last a lifetime?
Cerakote guarantees the ceramic coating for as long as the buyer owns the vehicle. Owner reports are more mixed. On lightly hazed lenses the seal holds impressively, while heavily oxidized lenses are where complaints about streaks and returning fog cluster. Surface preparation appears to be the deciding variable, because a ceramic coat can only protect a lens that was fully corrected first.
Do we need a drill for the 3M headlight restoration kit?
For the 3M Ultra kit (39195), yes. It is built around drill-activated sanding discs in three grades, and the drill is what makes its correction deeper than hand kits can manage. The classic 3M 39008 system uses a drill as well. Cerakote, Sylvania, and Meguiar’s Two Step all work by hand.
How long does the Sylvania headlight restoration kit last?
Owners typically report twelve to twenty-four months before haze starts returning, the same window that applies to headlight restoration generally. The UV-block clear coat in the Sylvania kit breaks down the way the factory coating did, only slower. Periodic re-coating extends the result.
Why do restored headlights fog up again?
Because the new coating degrades under sunlight the same way the factory coat did. Restoration is maintenance, not a cure. The coating type decides the interval: wax-based protection fades first, cure-in-place UV clear coats last longer, and ceramic polymers claim the longest life.
Can a kit fix haze inside the headlight?
No. Every restoration kit treats the outside of the lens only. If the cloudiness sits inside the housing, it is usually condensation or an interior film, and the fix is drying and resealing the housing, not sanding the lens. A quick check: if the haze does not change when the outside is wiped with a wet cloth, it is probably internal.
Which kit works on badly yellowed headlights?
Deep oxidation needs deep correction. The 3M Ultra kit removes the most material, with three abrasive grades driven by a drill. Without a drill, the Sylvania kit’s activator plus hand sanding is the practical alternative. Wipe-based products are the wrong tool for lenses at this stage, and that mismatch is behind many of their poor reviews.
How often should a protective headlight coating be reapplied?
Before the old one fails, not after. A practical rhythm is to check the lenses every autumn, ahead of the early sunsets, and refresh the seal with a UV coating spray such as Meguiar’s Keep Clear. A maintenance coat takes minutes. Another full restoration takes an afternoon.
Are ceramic headlight kits better than regular ones?
They trade correction for protection. Ceramic kits like Cerakote’s do less abrasive repair but leave a longer-lasting seal. Traditional kits like Sylvania’s and 3M’s correct more heavily and rely on a UV clear coat that needs renewing sooner. The right choice depends on how far gone the lens is, not on which technology sounds newer.
Life on the go should be easier.
Get practical tips and occasional product picks to eliminate the small frustrations that drain you.
Keep reading
Car Commuting
The Headlights Dimmed So Slowly We Never Saw It Happen
The slow fade that costs us 80 percent of our light, and why our brain never flagged it.
Car Commuting
How Cloudy Headlights Affect Night Driving
What oxidized lenses do to the road ahead, and the wall test that reveals it in one minute.
Car Commuting
The Sun Isn’t the Problem. The Way We’re Seeing It Is.
The film on our windshield, the worn wipers, and the visor gap turn ordinary sun into blinding glare.
Car Commuting
The Gas Light Gamble
Millions of drivers keep going after the fuel light comes on. The psychology behind the gamble and the rule that ends it.